Also create an Email layout. It is meant to be sent after form submission.
On Custom Tables → Layouts, click Add New. Enter the layout name Email Layout. Set Layout Type to Email Message and Table to appointments.

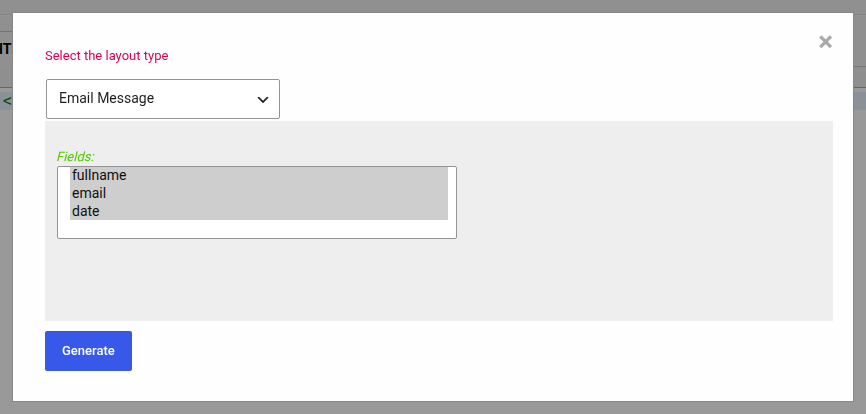
Click Layout Auto Creator. In the Select the layout type dialog, choose Email Message, then click Generate.
The generated code appears on the HTML (Desktop) tab:
<p>New form entry registered:</p>

		<p>{{ fullname.title }}: {{ fullname }}</p>
		<p>{{ email.title }}: {{ email }}</p>
		<p>{{ date.title }}: {{ date }}</p>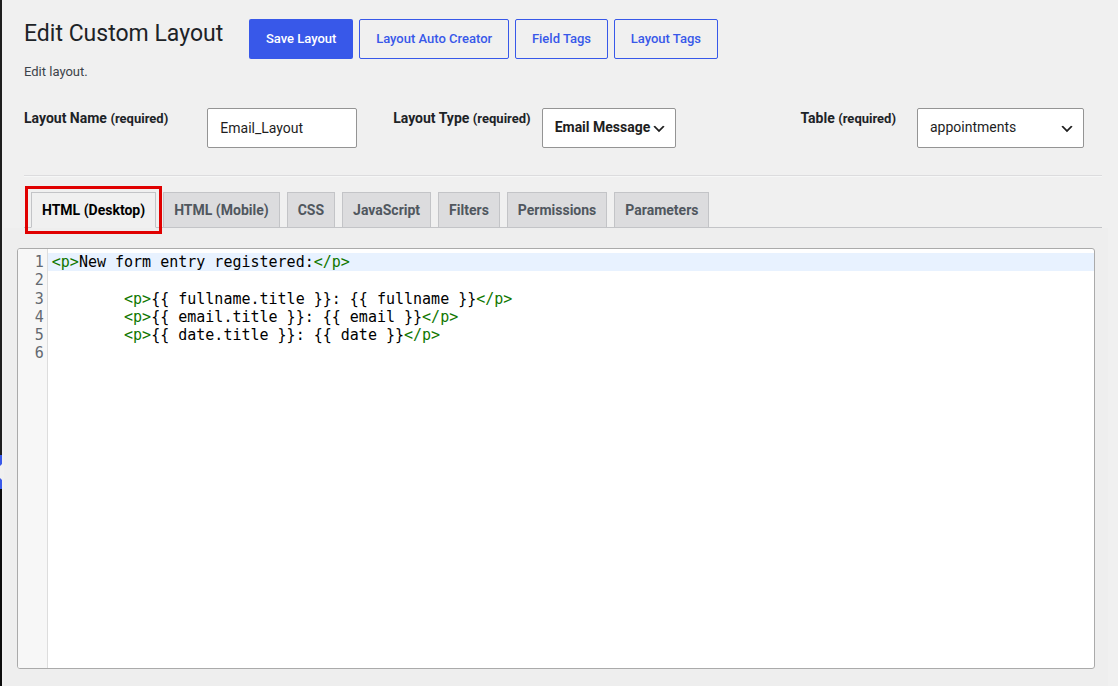
Click Save Layout.

WordPress converts spaces in the layout name to underscores, so Email Layout is saved as Email_Layout.
You can create this email layout in WordPress, but sending notification emails is not available in WordPress yet. There is no WordPress equivalent of the Joomla Menu Item email recipient, and Custom Tables → Settings has no send-on-submit control.
Also, Create an “Email Layout” – It will be sent to an email provided in the Menu Item (Will be explained later) after form submission.


Leave a Reply
You must be logged in to post a comment.