To create a new Custom Table, click Custom Tables in the WordPress admin menu.
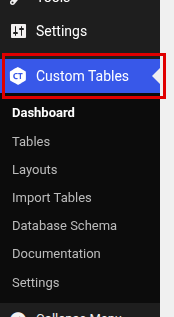
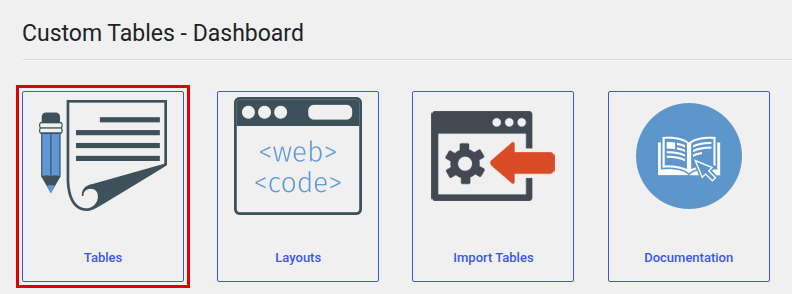
Click Tables in the submenu, or click the Tables icon on the Custom Tables Dashboard.
Then click the Add New button.

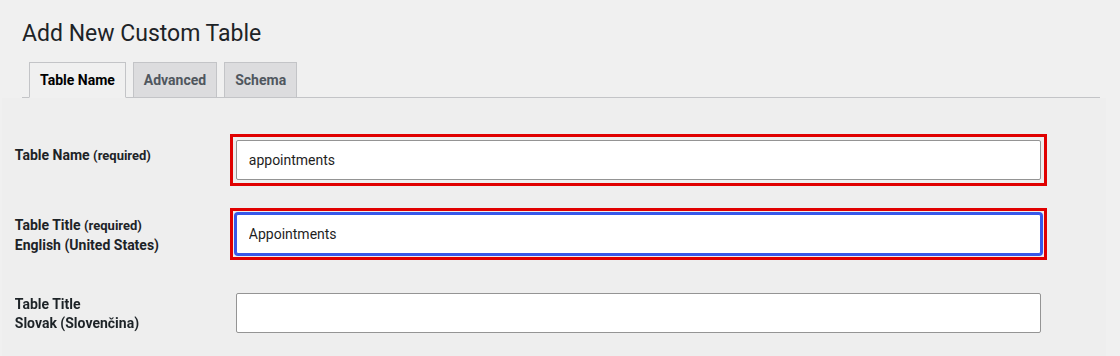
Fill in the form. Table Name is how the table will be identified in the system. Table Title is the translatable name of the table that will be visible to front-end users, if set so. If you have a multilingual website, there is one Table Title field per language.
For this example, enter appointments as the Table Name and Appointments as the Table Title.
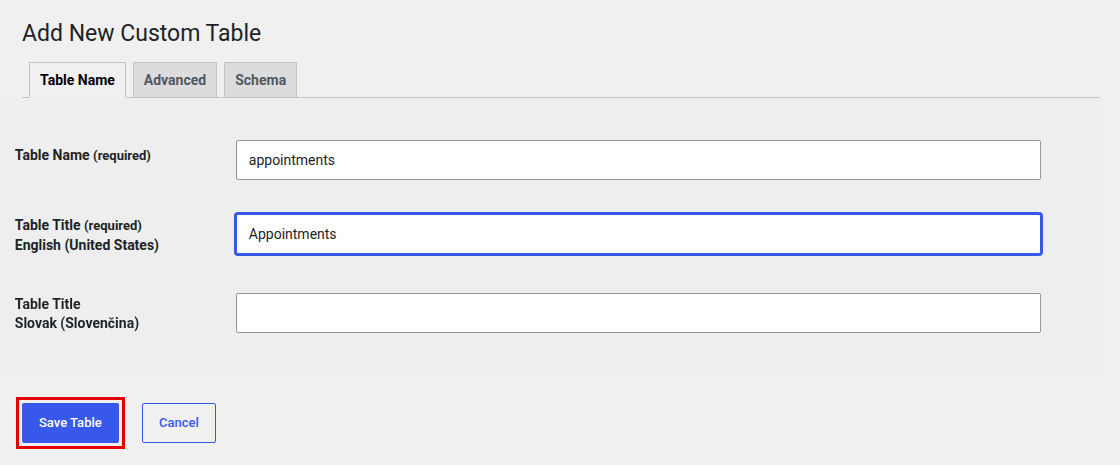
When done, click Save Table.
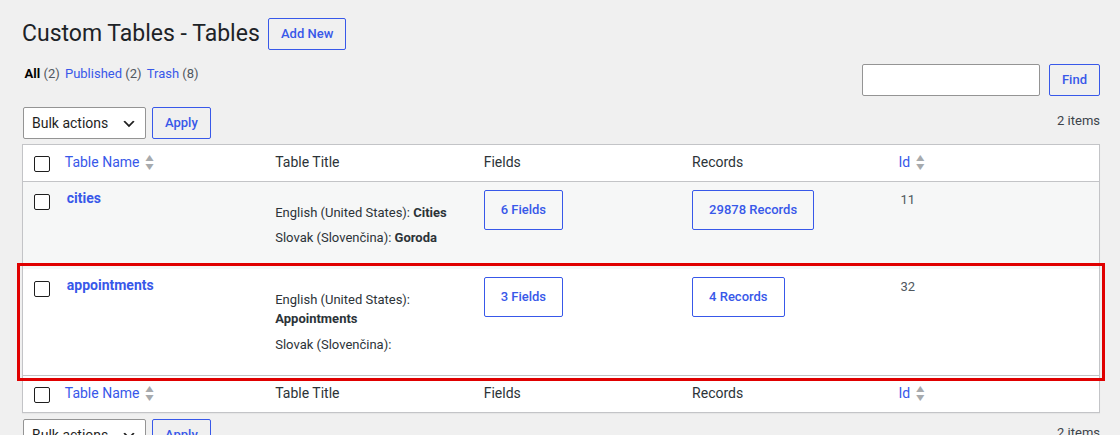
The new table appears in the Tables list. A new table has 0 fields and 0 records; you will add fields in the next step.
To Create New Custom Table, go to Components / Custom Tables. Click on the Tables section icon.

Then click on the [New] button.

Fill in the form. “Unique Table Name” is how the table will be identified in the system. “Table Title” is the translatable name of the table that will be visible to front-end users, if set so.
If you have a multilingual website, then more “Table Title” fields will appear – one per each language. The “Category” field is to organize tables.

You can also add a description to your table – it will also be visible to the front-end user if set so.
When done – click “Save and Close”.


Leave a Reply
You must be logged in to post a comment.